Myst Studio Plugin for Jenkins
As part of the build process, we require Jenkins to publish details of each artifact build to Myst Studio. We have two options to install and configure:
- The Myst Studio plugin for Jenkins
- The Myst Studio Transport JAR
Install Myst Studio Plugin for Jenkins
- Download the Myst Studio Plugin for Jenkins (hpi). Ensure that the version of the plugin selected is the same as the version of Myst Studio being used.
- Log into Jenkins and select
Manage Jenkins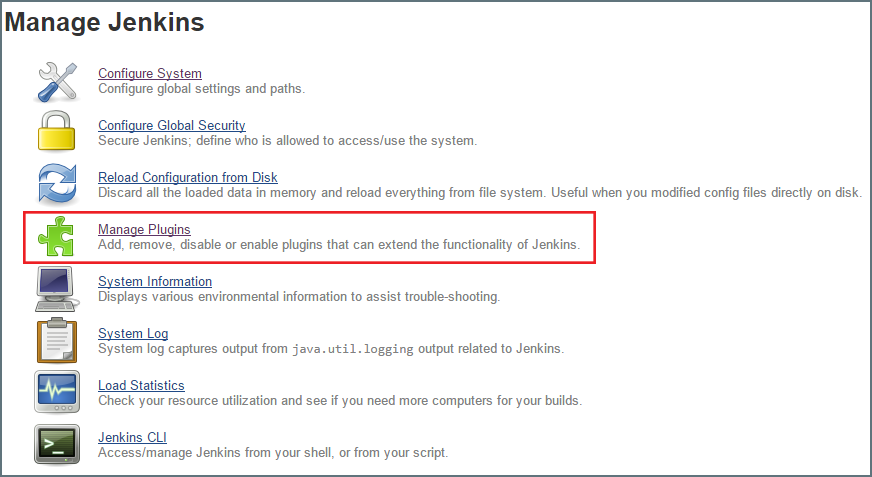
- Next, select
Manage Pluginsand select theAdvancedtab. Scroll down to theUpload Pluginsection. Click onChoose Fileand browse to and select the plugin that we downloaded in the previous step.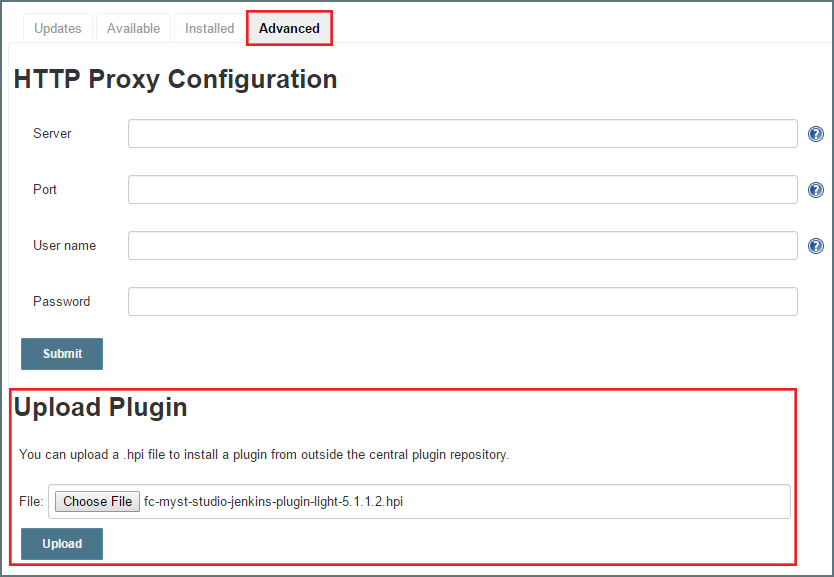
- Jenkins will upload and install the plugin. We will need to restart our Jenkins instance once the plugin has been uploaded.
- After restarting Jenkins, to validate that the plugin has been successfully installed, go to the
Manage Pluginspage and select theInstalledtab. - Enter
mystin theFiltercriteria and we should be able to see the installed Myst plugin as shown below.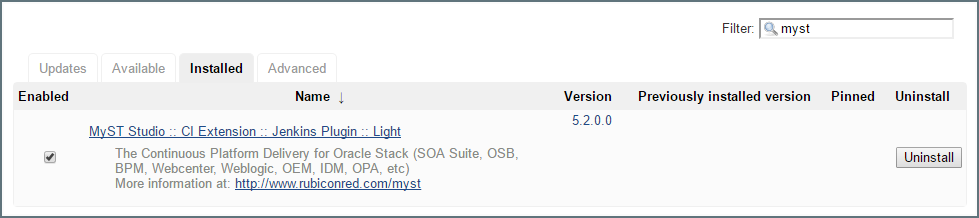
Configure Myst Plugin
- Go to Jenkins, click on
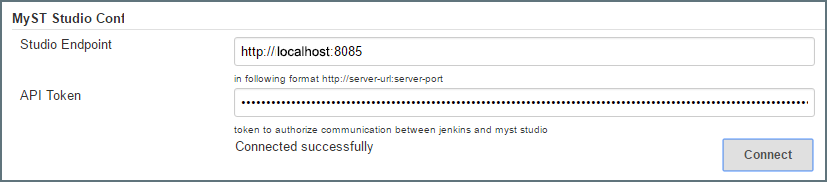
Manage Jenkins>Configure System. - Scroll down to the Myst Studio Configuration section and enter the following information:
- Studio Endpoint - URL for Myst Studio and takes the format
http://<myst-server-url>:<server-port>. The default server port is 8085. - API Token - This token is used to authorize communication between Jenkins and Myst Studio and is the API Key that we obtained from Myst API Key.
- Studio Endpoint - URL for Myst Studio and takes the format
- Next, click
Connect. If the connection is successful, the messageConnected successfullywill be displayed. - Click
Save