MyST Studio Installation
Prerequisites
The following prerequisites should be in place on the server that will host MyST Studio prior to running the MyST installer.
- Java 1.6+ is installed.
- Docker 1.7+ and Docker Compose is installed.
- The MyST license (MyST.lic) and customer API key (api.key) must be available. These are provided when you sign up to try MyST Studio.
- MyST Studio utilities installer must be downloaded.
- In addition, an SSL certificate (cert.crt) and SSL key (cert.key) is required for configuring the MyST Studio HTTPS frontend.
After the installation, internet access is required for the latest version of MyST to be pulled down directly from the public MyST Docker Registry.
Installation
The installation wizard can be kicked off by executing the jar installer using Java as follows:
java -jar <installer file>
If you need to run MyST Studio installer from the console (non-graphical), you can execute the following:
java -jar <installer file> -console
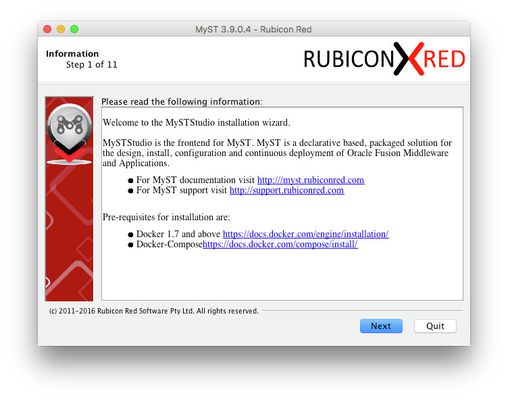
In the first step, you will be provided with an overview of the prerequisites.
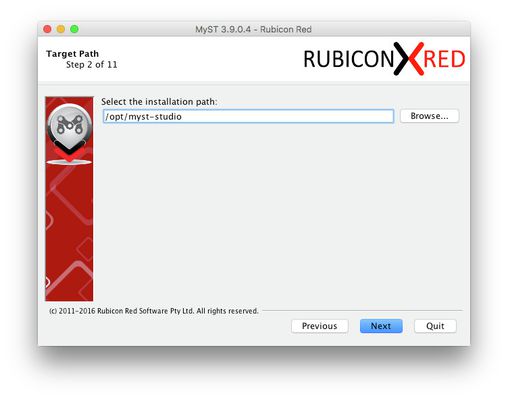
In the next step, you will be asked to enter a path for the MyST Studio utilities. The standard convention is to installer under /opt/myst-studio however any path can be used.
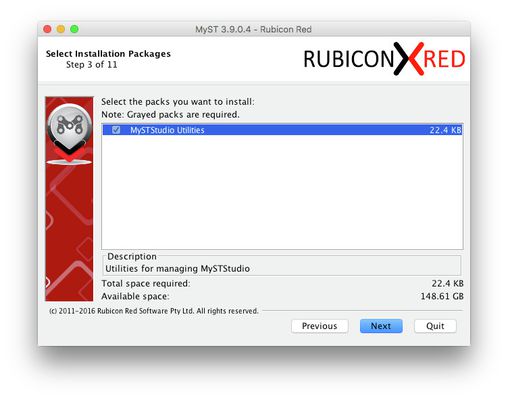
In the next step, we can leave the defaults and click Next.
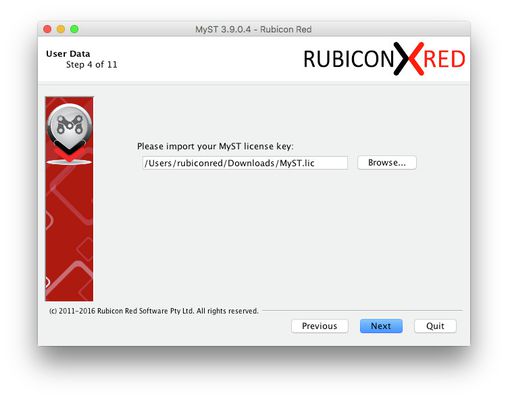
Import the MyST license key. This file must be named as MyST.lic
Import the SSL Certificate and SSL Key. These files must be named cert.crt and cert.key respectively.

Demo certificates are provided below: cert.key cert.crt
Import the API key. The file must be named as api.key

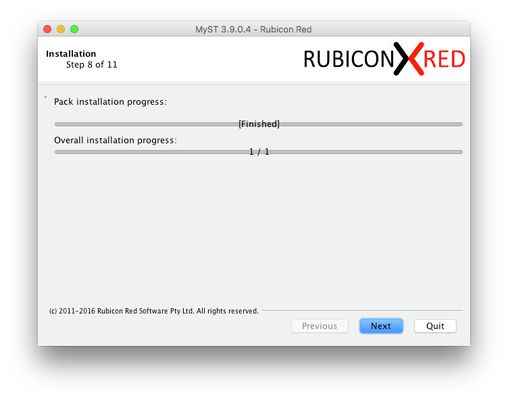
You will be prompted to confirm installation. Click Next. The installation should take only a second or two.
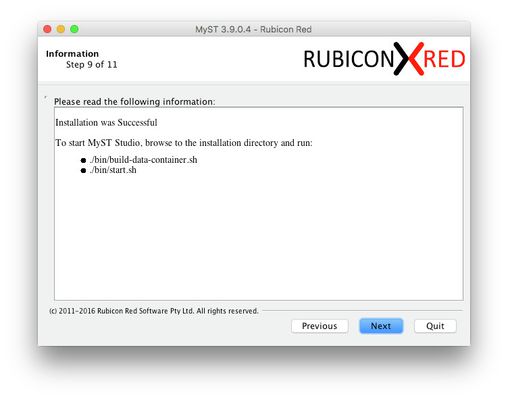
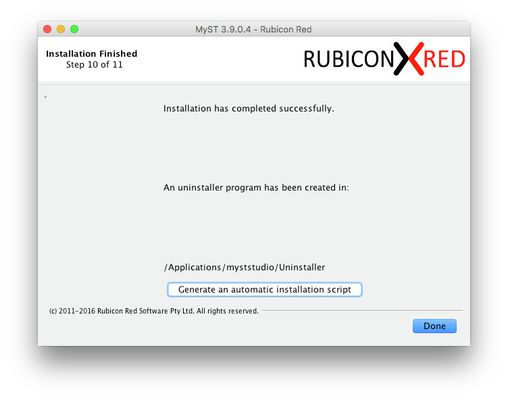
After the installation is successful, you will be prompted with the next steps to be performed.
If desired, you can generate a silent installation script which can be used to perform an installation silently.
Silent Installation
To run a silent installation you can execute the following:
java -jar <installer file> <response file>
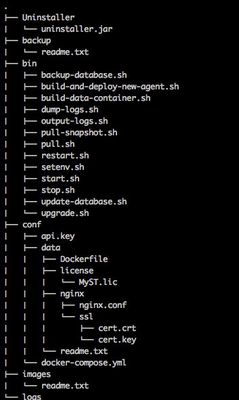
The installation will setup the following files and folders:
After the successful installation navigate to the MyST Studio home (in our example, /opt/myst-studio) and execute the following:
cd /opt/myst-studio/bin
./build-data-container.sh
./pull.sh <Version>
./start.sh
Once the start.sh has completed you should be able to access the MyST Studio console at https://<your host>/console
If your instances are running correctly, the output of "docker ps", should be similar to the following:
CONTAINER ID        IMAGE               COMMAND                  CREATED              STATUS              PORTS                                        NAMES
cb296567bcb5        nginx               "nginx -g 'daemon off"   About a minute ago   Up About a minute   0.0.0.0:443->443/tcp, 0.0.0.0:5555->80/tcp   myststudio_https

4930ee08812c        myst-studio         "catalina.sh run"        About a minute ago   Up About a minute   8080/tcp                                     myststudio_web

9a922bcbb4a0        mysql               "docker-entrypoint.sh"   About a minute ago   Up About a minute   0.0.0.0:3306->3306/tcp                       myststudio_db